Table of Contents
ToggleAll About PEX Pipe Installation: Essential Tips and Tricks
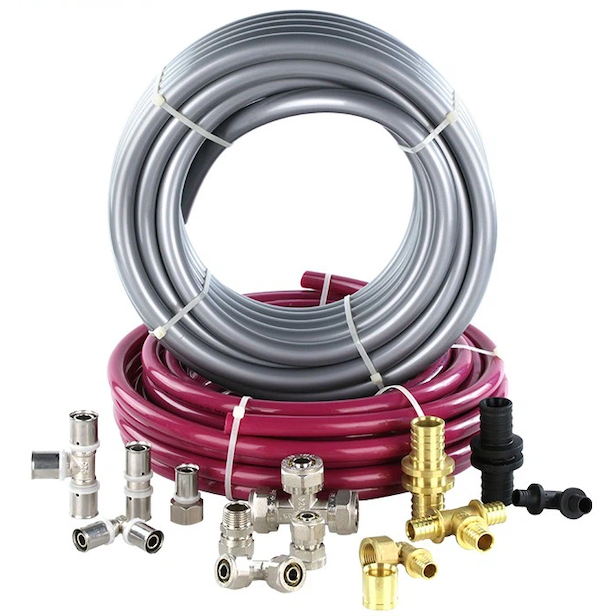
Installing PEX pipe needs careful attention to make sure that the plumbing system works efficiently. To ensure a successful installation, here are some essential tips and tricks:
1. Tool Preparedness: Always have the correct tools on hand for the job. These might include a PEX tubing cutter, crimp tool, decrimping tool, and PEX expansion tool, depending on the connectors you are using.
2. Correct Measurements: Measure twice to make sure you’ve got the right length of PEX before cutting. Remember, it's better to have a little bit extra than to come up short.
3. Easy Bending: PEX tube is flexible, but to avoid kinks when making sharp turns, it's recommended to use bend supports. This will maintain the free flow of water.
4. Avoiding UV Light: PEX tube should never be left exposed to sunlight, as UV rays can degrade the material. If the pipes are to be left out for some time, ensure they are covered.
5. Pressure Test: After the system is installed, perform a pressure test to ensure no leaks are present.
6. Sleeve in Concrete: If PEX tube is to be embedded in concrete, it should be sleeved in a nonmetallic conduit to allow for movement and prevent any possible damage.
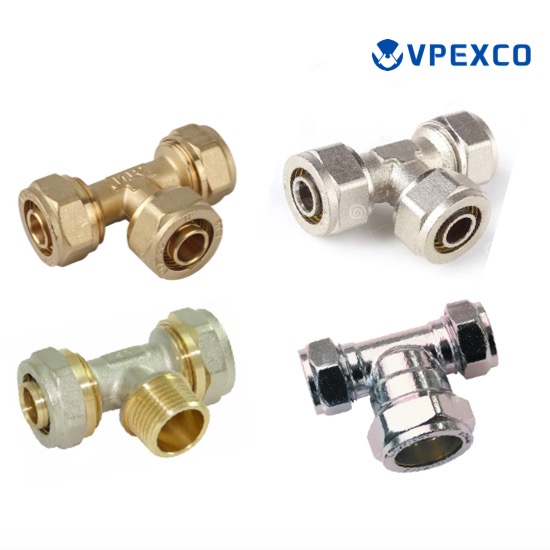
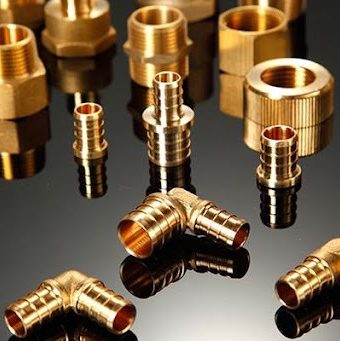
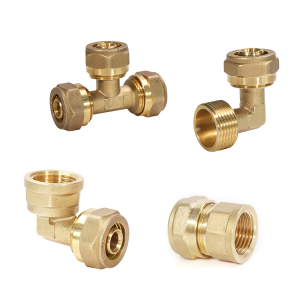
7. Correct Fittings: The fittings and rings you use should be compatible with the type of PEX you're working with. Use high-quality brass fittings when possible. Crimp rings, clamps, or expansion fittings based on your preference and local codes. Ensure fittings are compatible with your PEX pipe type (A, B, or C). Related post How many types of brass fittings for pex pipe connection?
8. Expansion and Contraction: Remember that PEX will expand and contract with temperature changes. Leave a little slack in straight runs and create loops called "expansion loops" to accommodate these changes.
9. Proper Burial: If pipes are to be buried, protect them from potential damage, such as sharp rocks, by burying them in sand or another soft material. We can read this post for more details: Can brass pex fittings be used underground?
10. Secure the Pipes: Secure the PEX tubing with the use of clamps or supports to prevent undue stress on the connections due to the tubing's tendency to bend back to its original form.
What tools are essential for PEX pipe installation for different types for brass pex fittings?
To install a PEX plumbing system, you'll need an array of specialized tools to get the job done. Here is a list of some essential tools you will need:
1. PEX Tubing Cutter: The pex pipe cutter is crucial for obtaining a clean, straight cut on the tubing, which is essential for a proper, leak-free connection.
2. Pressing Tool: we also call press crimping tool, press tool for brass press fittings with 304 stainless steel sleeve for pex pipe or pex al pex pipe. We usually have U type profile and TH type profile. And this tool we have size for 16mm, 16-20 mm, and size for 16-20-25-32mm pex and pex al pex pipe.
3. PEX Crimp Tool: This crimp tool is for pex crimp fittings with copper rings. And this tool allows you to crimp metal rings to secure PEX pipe to fittings. It's important to have one that matches the size of the fittings you're using.
4. Go/No-Go Gauge: This is used after crimping to ensure you have crimped to the right tightness. It's a quick way to ensure each connection is secure without overtightening.
5. PEX Decrimping Tool: If you need to remove a fitting, a decrimping tool is a relatively easy way to do it without causing damage.
6. PEX Expansion Tool: When using the Pex expansion fittings, this tool helps you expand PEX tubing enough to insert a fitting. It's then compressed over the fitting as it cools and contracts.
7. PEX Cinch Tool: This tool is used with stainless steel cinch clamps. The cinch clamps are simpler to install than crimp rings, especially in tight spaces.
8. PEX Bend Supports: While not exactly a tool, PEX bend supports are a handy accessory for preventing kinks when you have to bend the tubing at acute angles.
9. Adjustable Wrench: For tightening threaded connections, specially when you install the brass compression fittings with pex pipe or pex al pex pipe, the wrench can help you to tighten the fittings connections.
How to Install Brass PEX Fittings (step-by-step installation guides)
Brass PEX fittings are used to make connections between PEX pipes. We have brass pex sliding fittings, brass press fittings, brass compression fittings, brass pex crimp fittings, brass push in fittings for pex tube and also pex expansion fittings. For more information for the installation for pex sliding fittings, push-in fittings, pex press fittings and brass compression fittings, you can go to this post
Installation Guidelines for PEX Pipe Connection with Different Pex Plumbing Fittings
Today we will share the crimp style or expansion style. Here is a step-by-step guide for both types:
Crimp Style Brass PEX Fittings Installation

pex pipe connection
1. Cut the PEX Pipe: Measure and mark the PEX pipe to the desired length using a marker. Use a PEX tubing cutter for a clean, straight cut.
2. Insert the Fitting: Next, insert the brass PEX fitting into the pipe. Make sure it fits snugly and that it's pushed in as far as it will go.
3. Slide on the Crimp Ring: Slide a crimp ring onto the PEX tubing and position it about a 1/8 to 1/4 inch from the end of the tube.
4. Crimp the Ring: Using a PEX crimp tool, crimp the ring evenly and firmly around the tubing and fitting. The tool must be straight to ensure a proper seal.
5. Check Your Work: Finally, check your work with a go/no-go gauge. If the gauge fits, the crimp is good. If it doesn't, the connection must be cut and redone.
Expansion Style Brass PEX Fittings Installation
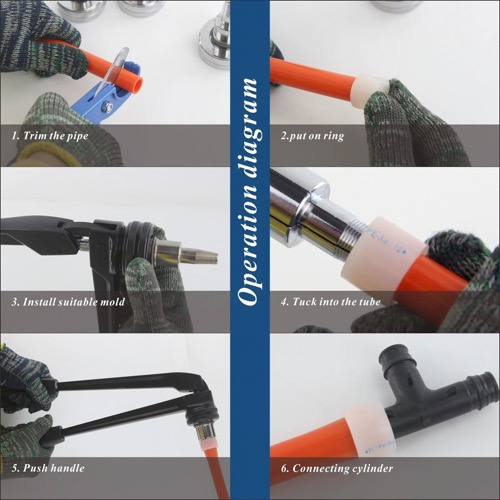
expansion fittings
1. Cut the PEX Pipe: Measure and mark the desired length and cut the PEX pipe using a PEX tubing cutter.
2. Insert the Ring: Slide the PEX expansion ring onto the pipe. Make sure the end of the ring aligns with the end of the pipe.
3. Expand the Pipe: Using a PEX expansion tool, expand the pipe and the ring. The expansion tool will automatically rotate to provide an even expansion.
4. Insert the Fitting: Immediately insert the brass PEX fitting into the expanded pipe and ring.
5. Allow the Pipe and Ring to Contract: Over time, the pipe and ring will contract around the fitting, ensuring a tight, secure fit.
6. Check Your Work: Once the fitting is fully inserted, observe the ring. No pipe should be visible between the ring and fitting. If pipe is visible, you may need to cut the connection and start over.
Remember that your work's quality is largely dependent on the quality of your tools. Always use good the quality brass PEX fittings and make sure your PEX crimp tool or expansion tool is in good working condition. Having the right tool for the job will make your PEX plumbing installation much easier and more efficient.
If you have more questions or any inquiry for our brass pex fittings or installation tools, welcome to contact us


